

Quick start
This is the shortest path from a clean install to a useful, accurate week of books. Allow about 20 minutes the first time. After that, your routine is a couple of minutes a day plus one bank-statement upload a month.
1. Sign up
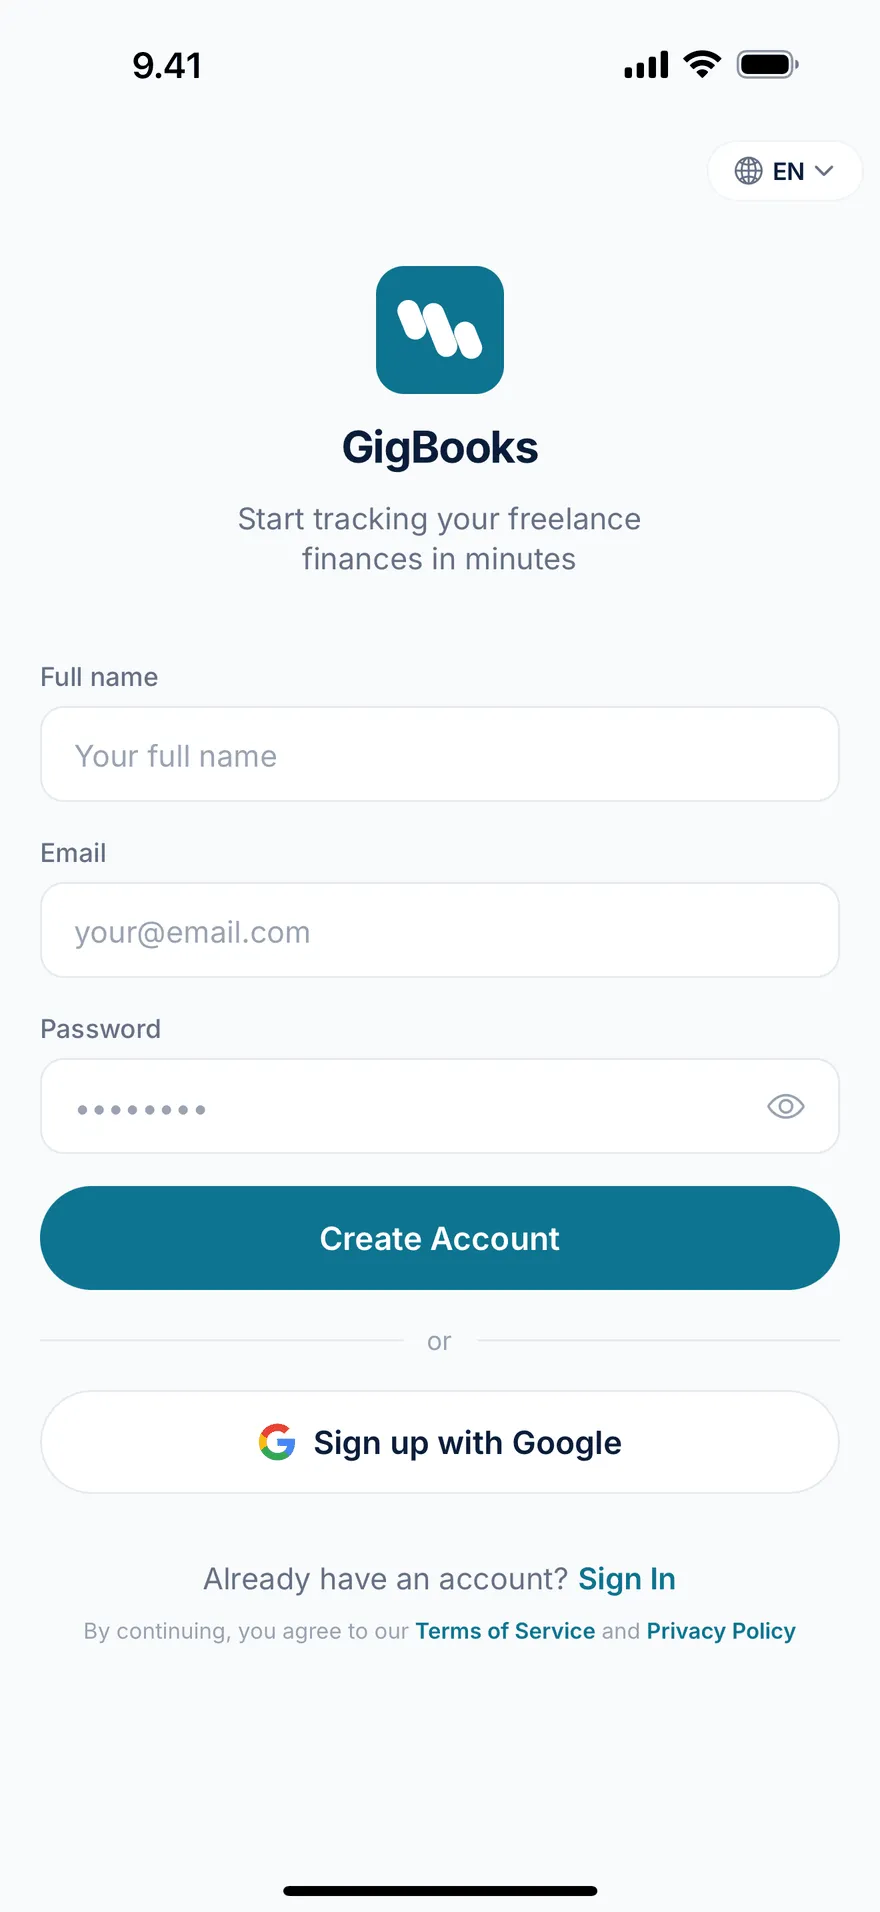
Download GigBooks, tap Sign up, and verify your email.
2. Answer the four onboarding questions
GigBooks asks four short questions to set the rules of your books correctly from day one:
- Country. Today, Finland (FI). Sweden is on the roadmap.
- Tracking start date. The day GigBooks starts keeping books for you. If you’ve already had income this year before this date, you’ll fill in starting balances later in the setup checklist (see step 4).
- Are you VAT-registered? If yes, pick your reporting period: monthly, quarterly, or annual. If you don’t know what to choose, see VAT — for most beginning toiminimi, the default is annual.
- Is this your first year as an entrepreneur? This affects how YEL is suggested and how a few year-one tax timing items are handled.
You can change any of these later in Settings → Business.
3. Create your first stream
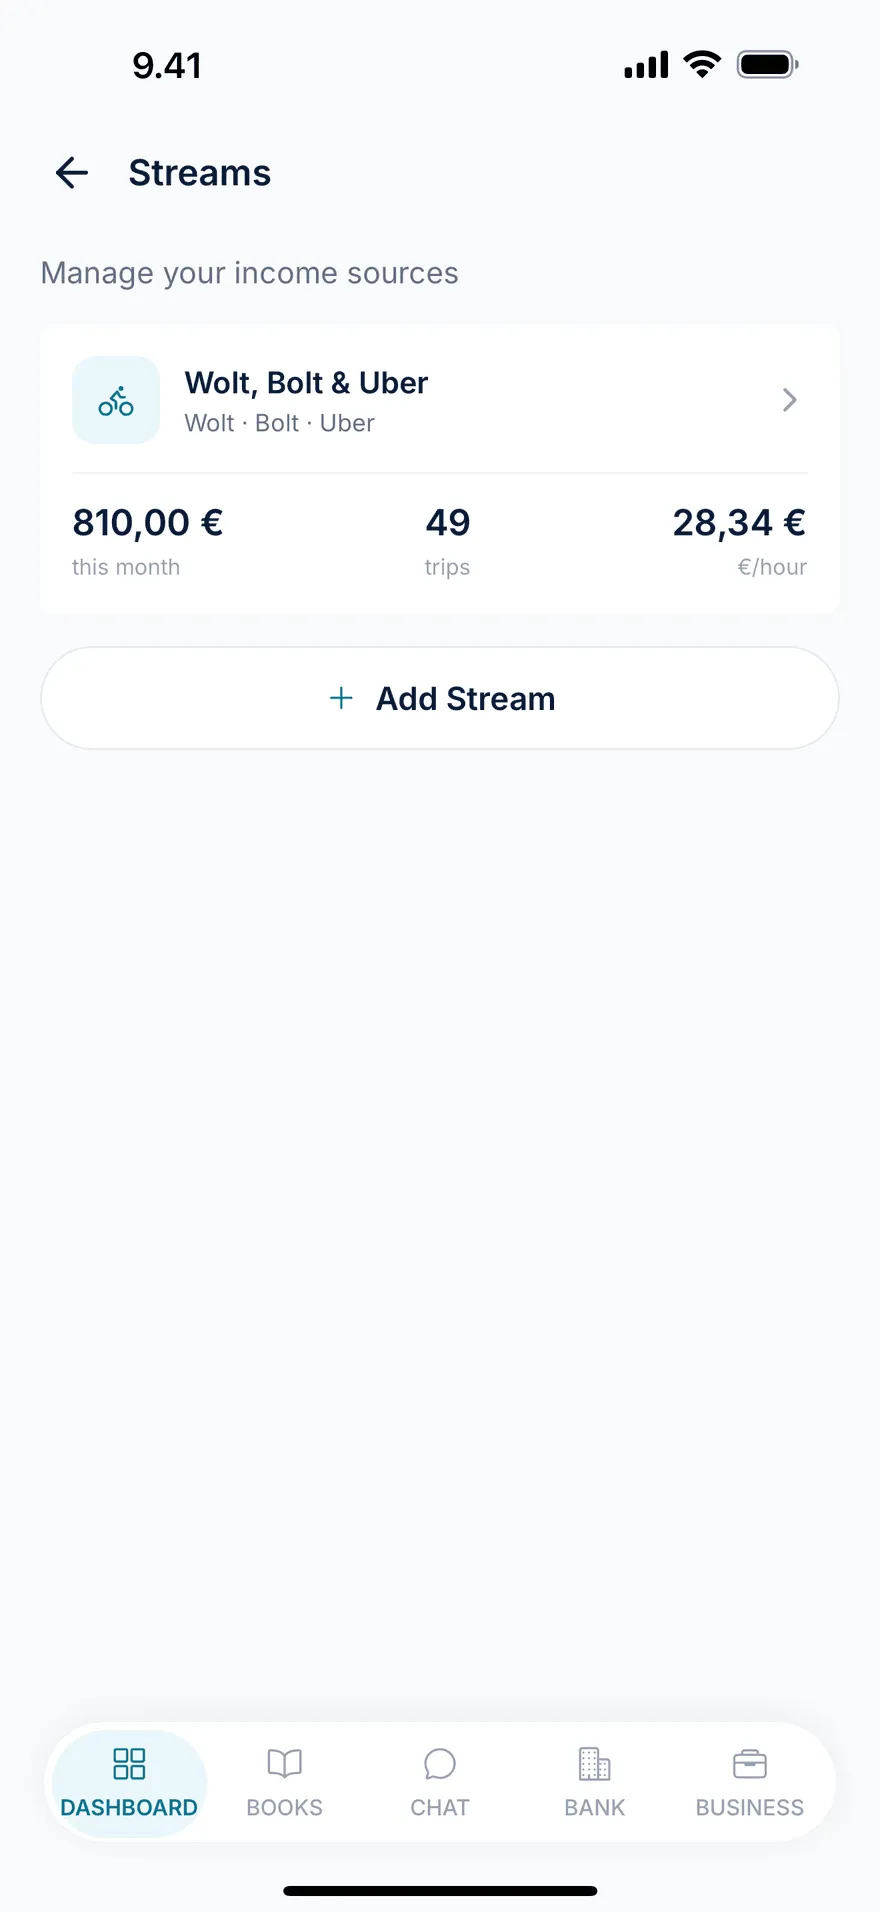
A stream is how GigBooks groups income that belongs together. For most platform workers, one stream covers all your delivery work; another covers all your rideshare work; a hairdresser typically has one stream for the salon chair.
Tap the + in Streams and:
- Name it — for example, Wolt + Bolt deliveries, or Salon (Kamppi).
- Pick a category —
delivery,rideshare,salon,consulting,tutoring, orother. - (Delivery / rideshare only) Tag the platforms you work on. The tag is just a label — GigBooks doesn’t sign in to the platform.
- (Salon / consulting / tutoring) Add an initial customer and a service or two with prices, so logging a session is one tap later.
See streams for what each field means and how categories shape the rest of the app.
4. Walk through the setup checklist
After you create your first stream, the dashboard shows a setup card with up to six steps. Do them in any order — finishing them turns the card off.
| Step | What it does |
|---|---|
| Stream configured | Marked done when you create your first stream (step 3). |
| Statement imported | Upload a recent bank statement PDF. Today supported: Nordea, OP. The triage queue then shows what to classify. |
| VAT configured | If you said yes to VAT in onboarding: enter what you’ve already filed (or owe) for the current period, so balances are right. |
| YTD entered | If your tracking start date isn’t 1 January, enter your year-to-date revenue, expenses, and bank balance so the books pick up cleanly mid-year. |
| YEL configured | Enter your confirmed YEL income and monthly contribution. If YEL doesn’t apply yet (you’re under the floor and not yet required), mark it not applicable. |
| Receipt scanned | Snap one receipt to test the chat capture. The first receipt is usually fuel or a phone mount. |
5. Log your first shift or session
This is where the books start to feel useful.
Delivery / rideshare:
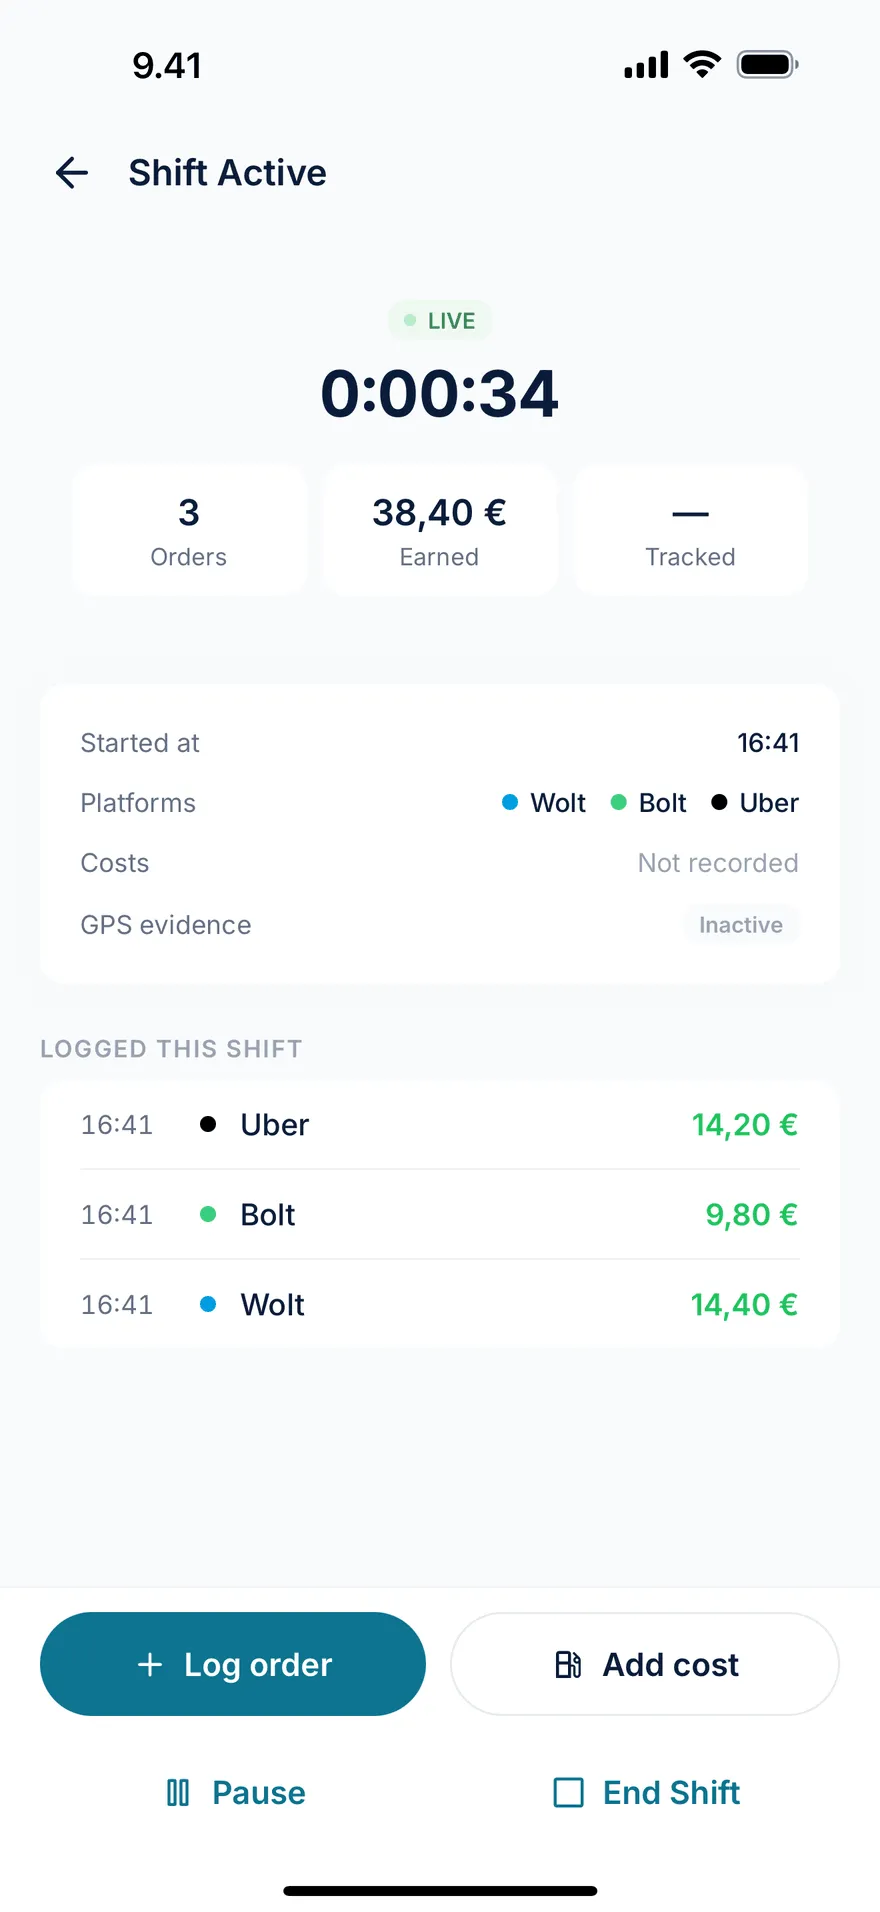
- Tap Log shift in your stream.
- Pick the date, start and end time.
- For each platform you worked: enter the number of orders, the earnings, and tips (if any).
- Add costs as they happened: a fuel stop, parking, a toll. Snap each receipt as you add it.
- Enter the odometer reading at start and end, or let GigBooks compute the GPS distance if you tracked the shift live.
- Save.
Salon / consulting / tutoring:
- Tap Log session in your stream.
- Pick the customer (or add a new one), pick the service (or enter a one-off), and the date.
- Enter the amount (fixed) or the duration and hourly rate.
- Save. Generate an invoice from the session if you bill the customer.
6. Snap a receipt — through chat
Open Chat, tap the paper-clip, and pick Camera or Gallery. GigBooks reads:
- the merchant (e.g., Neste K Kamppi)
- the amount
- the VAT rate (24% / 14% / 10% / 25.5%)
- a suggested category (vehicle fuel, gear, phone, etc.)
It writes a draft entry and shows it as a card in chat. Tap Confirm if the read looks right, or open the entry to edit anything before confirming.
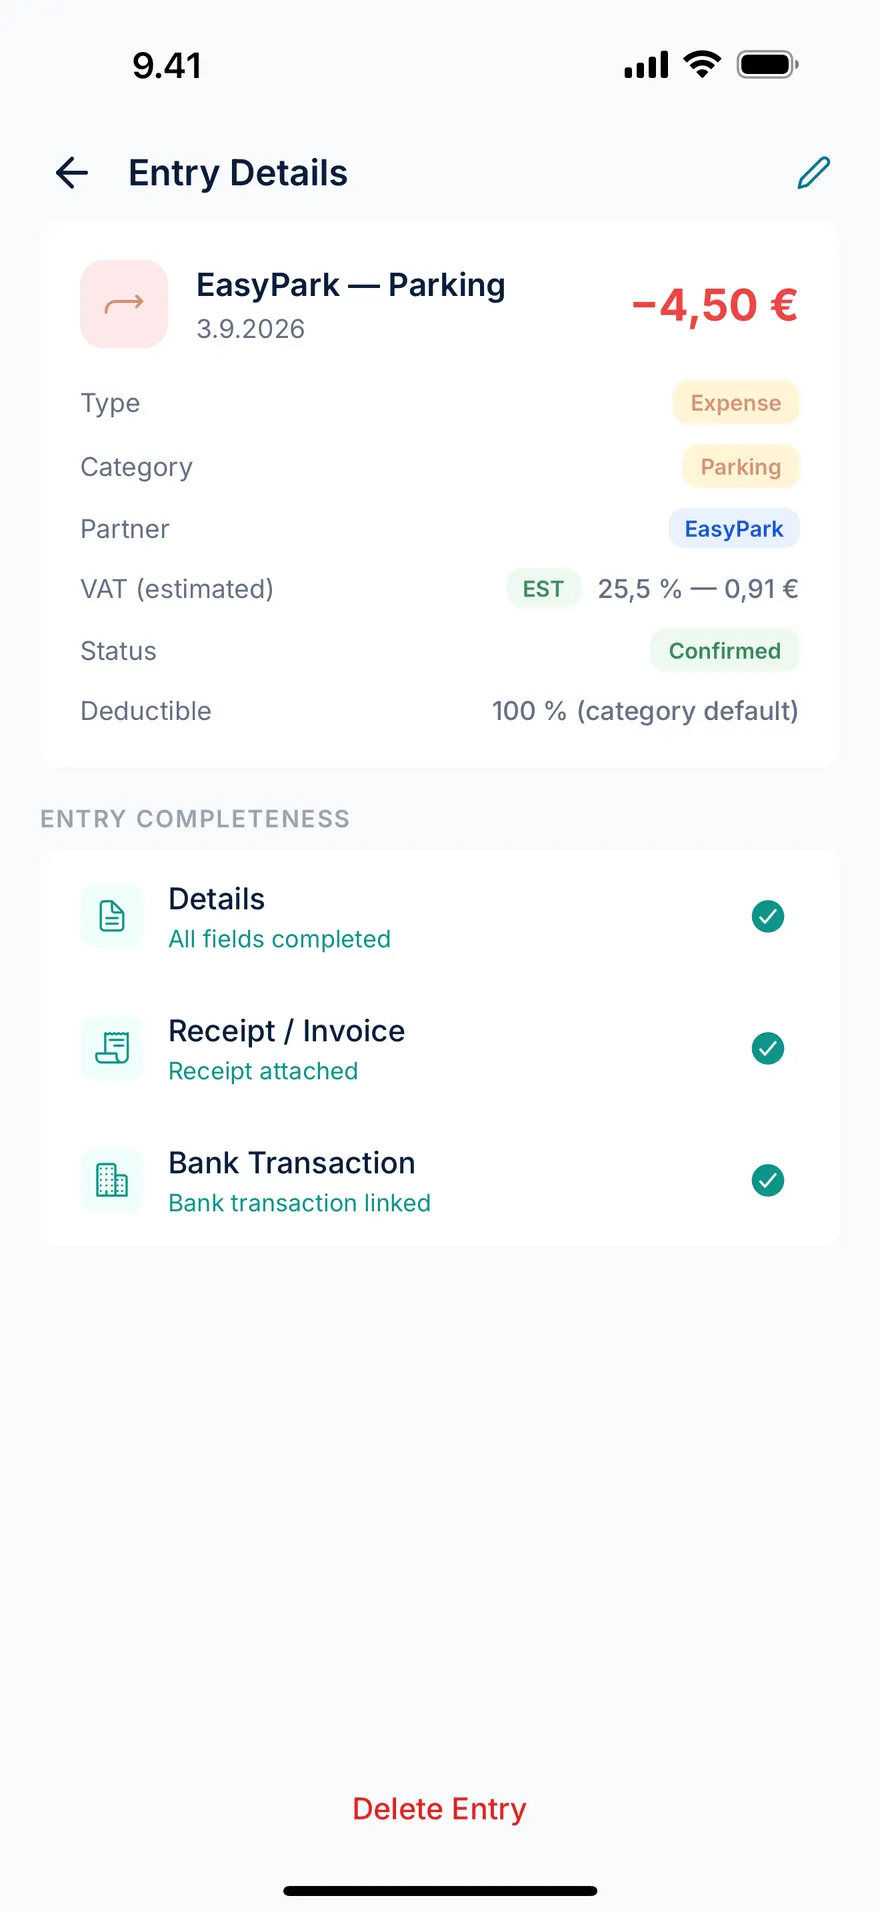
The first time you do this, you’ll see how the book actually fills itself: snap, glance, confirm.
7. Upload your first bank statement
Once a week — or once a month, your call — export a recent statement from your online bank as PDF and bring it into GigBooks.
- Tap Bank and then Import statement.
- Pick your bank from the list.
- Pick the PDF file and confirm.
GigBooks parses the PDF and triages each transaction:
- Auto-matched — payouts and expenses GigBooks can confidently link to entries you already have. These become posted right away.
- To review — transactions GigBooks isn’t sure about. Open each, accept the suggested category, or pick a different one. If it’s a personal transfer, mark it excluded and it stays out of the books.
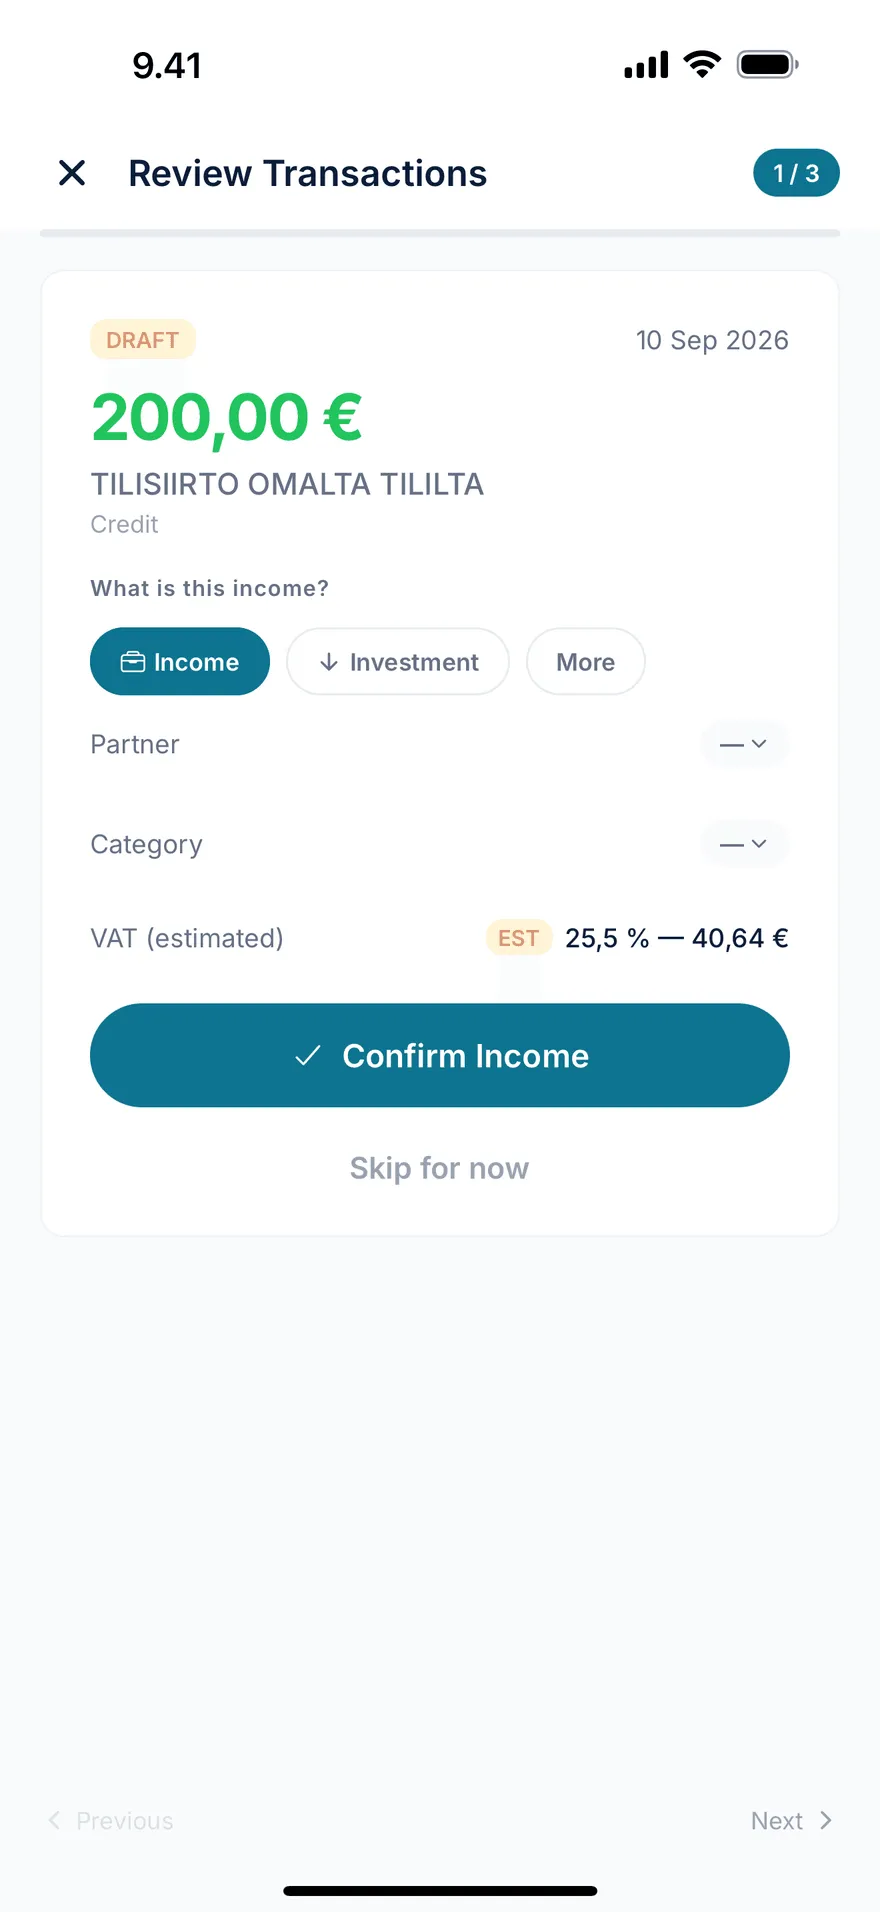
See bank import for the full walkthrough, including which banks are supported today and what’s coming.
8. Check the dashboard
Open the home tab. You should now see:
- This month’s P&L — revenue, expenses, net.
- Compliance — VAT line position, YEL run-rate, next advance-tax instalment.
- Activity — anything that needs you (drafts to confirm, items to triage).
- This month’s to-dos — split into do now, keep books clean, and watch thresholds.
If everything looks right, you’ve finished the quick start. From here, your routine is:
- Daily — snap receipts, log shifts.
- Weekly — confirm any drafts in chat, glance at the dashboard.
- Monthly — upload a bank statement, work through the to-dos, review the VAT/YEL/tax summaries.
Up next: read about streams and shifts, or jump to VAT if you’re close to the €20,000 line.